Part settings can be changed from the Part Details screen.
To open the Part Details screen, click the gear icon in the sidebar or click the Settings button on the part list.

目次 / Contents
- 1 Part Settings
- 1.1 Part name
- 1.2 Part types
- 1.3 Icon
- 1.4 Position (Upper left)
- 1.5 Right part position (*for left-right paired parts only)
- 1.6 Display on the menu bar
- 1.7 The Remove Button and Item default settings
- 1.8 Up-down movement
- 1.9 Left-right movement
- 1.10 Change size
- 1.11 Rotation
- 1.12 Spacing adjustment (*for left-right paired parts only)
Part Settings
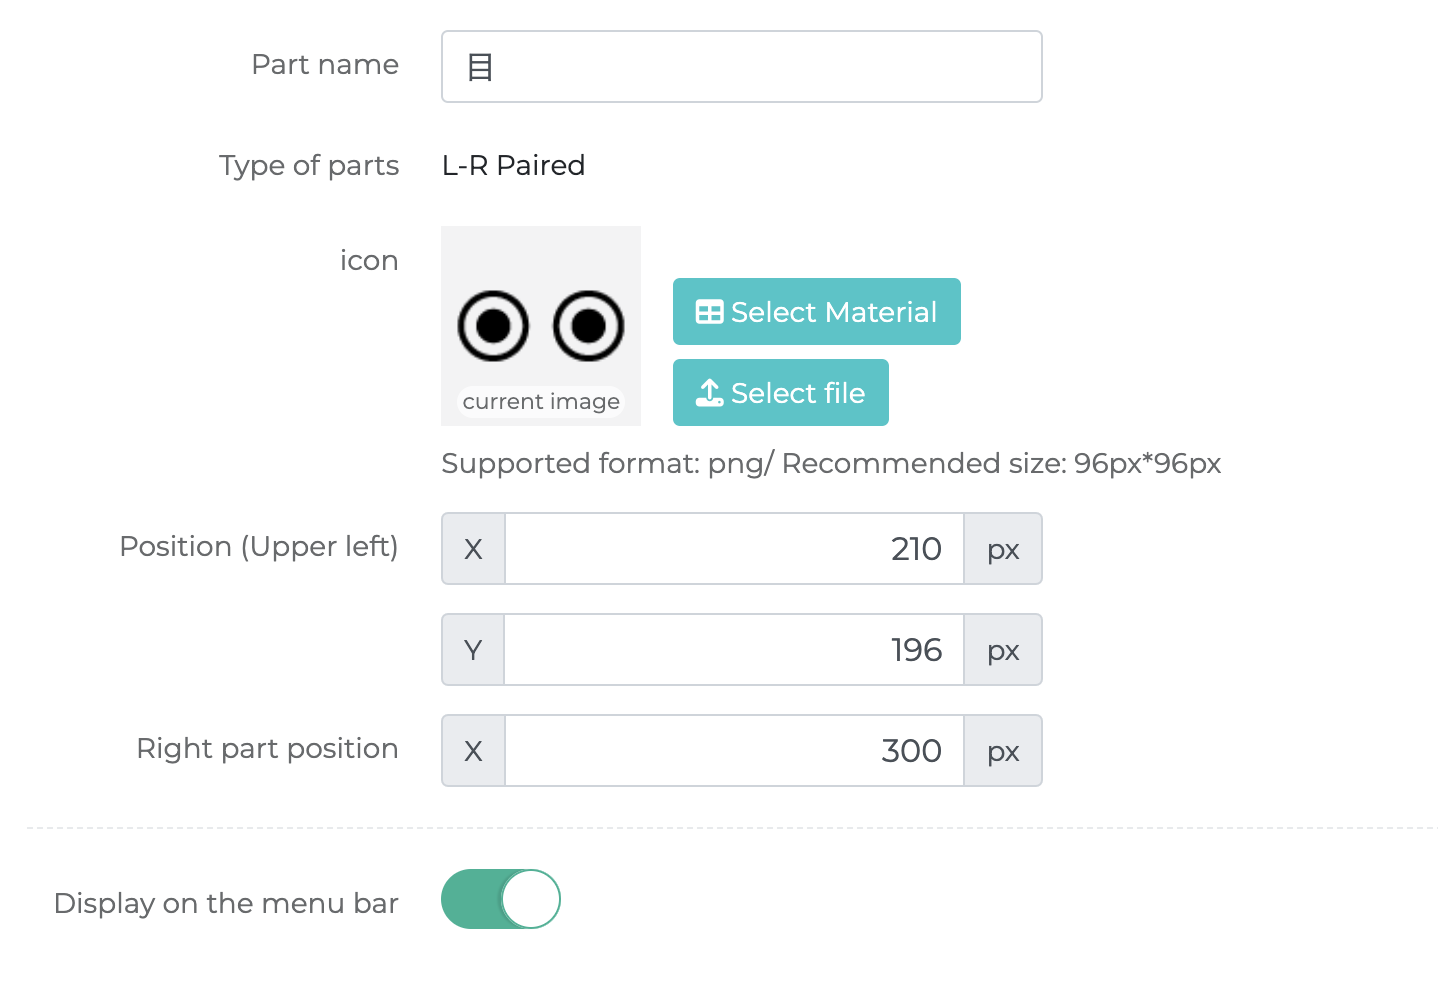
Part name
Enter part name.
The name is just for the creator’s reference, so make it simple and recognizable.
Part types
This part shows the part’s type. Part types cannot be changed afterwards.
Icon
Part Icons are images displayed on Picrew’s image-maker Play screen and are used to select parts.
This part will not appear for Random Makers, and you can release the image maker without uploading the Icons.
You can choose from a selection of officially distributed images in the “Select Material” section. Click here to see what the images look like.
From “Select file,” you can upload images created by creators.
You are free to use either one!
If an icon is set for a part, it will be displayed in this area on the play screen.
![]()
Position (Upper left)
Locate the item’s position in the canvas.
X is the horizontal coordinate, and Y is the vertical coordinate.
If you want to locate the item to 20px from the left and 40px from the top, enter “X:20, Y:40.”
Right part position (*for left-right paired parts only)
For the left-right paired parts, locate the position of the right part as well.
The Y coordinate has the same value as the “Position (Upper left),” so just locate the X coordinate.
Select whether to display the selected Part on the Parts Menu bar on Picrew’s Play screen.
Even if you decide to hide it from the Parts Menu, the Item Images will be displayed on the canvas.
This feature is useful when there is only one item and the user does not have to select a part for it.

Use the Remove Button
The Remove Button allows the users to remove the selected part.
If you are using this function, the Remove Button will be displayed on the Item Selection panel as “×”.
If you are not using this function, one of the items will always be selected.
Item default settings
This feature is available only when the “Remove Button” feature is turned ON.
Select the item’s default state. It will be applied when the image maker is played for the first time or when everything has been reset.
If you select the Remove Button, the selected part will be removed in the default state.
If you select Item No.1, the No.1 item will be selected in the default state.
Up-down movement
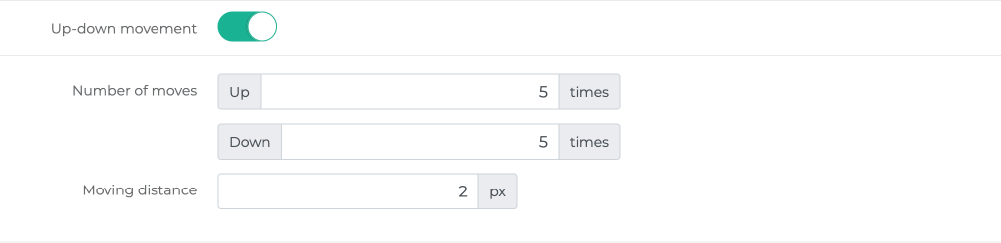
Turn this function ON to allow parts to move up/down.
Enter the part’s moving distance and number of moves, respectively.
If, for example, you set the moving distance to 5px and the number of moves to three times, the item will move 5px on the Play screen each time the move button is pressed.
The item cannot be moved more than three times, and the maximum moving distance will be 15px (5px ×three times)
Left-right movement
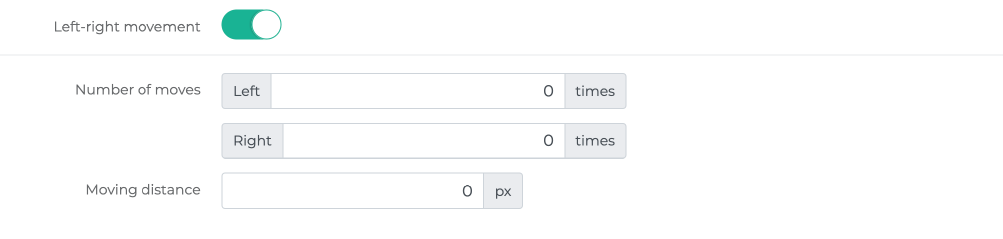
Turn this function ON to allow parts to move left/right.
Enter the part’s moving distance and the number of moves, respectively.
Change size

Turn this function ON to allow parts to zoom in/out.
Enter the maximum zoom-in level and minimum zoom-out level in percentage.
You must to prepare a double-sized Item Image to use this function.
Rotation
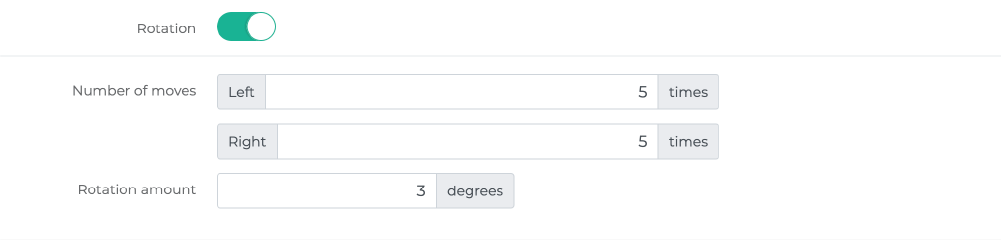
Turn this function ON to allow parts to rotate.
Enter the rotation angle and the number of moves, respectively.
If you set the rotation angle to 15 degrees and the number of moves to three, the item will rotate by 15 degrees on the Play screen each time the rotation button is pressed. The item cannot be rotated more than three times, and the maximum rotation angle will be 45 degrees (15 degrees ×three times)
Spacing adjustment (*for left-right paired parts only)

Turn this function ON to adjust the space between parts.
This function setup will only appear for left-right paired parts.
Enter the moving distance and the number of moves, respectively.
If you set the moving distance to 3px and the number of moves to five times, the left item will move 3px, and the right part will move 3px in the opposite directions every time the button is pushed.