The Color Link Setting is a feature that allows you to change the colors of multiple parts simultaneously.
For example, if you have parts like “front hair” and “back hair,” you might wish you could change both of their colors at the same time.
In such cases, the Color Link Setting is highly recommended.
It’s useful when you want to select different items—like hair or skin parts—while keeping their colors consistent at all times.
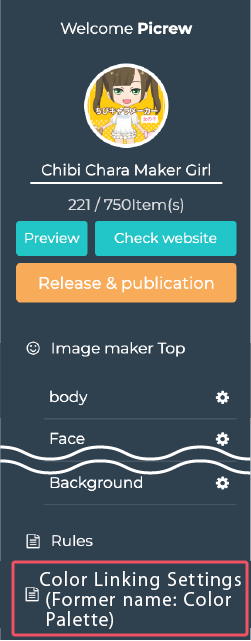
Check Color Link Settings
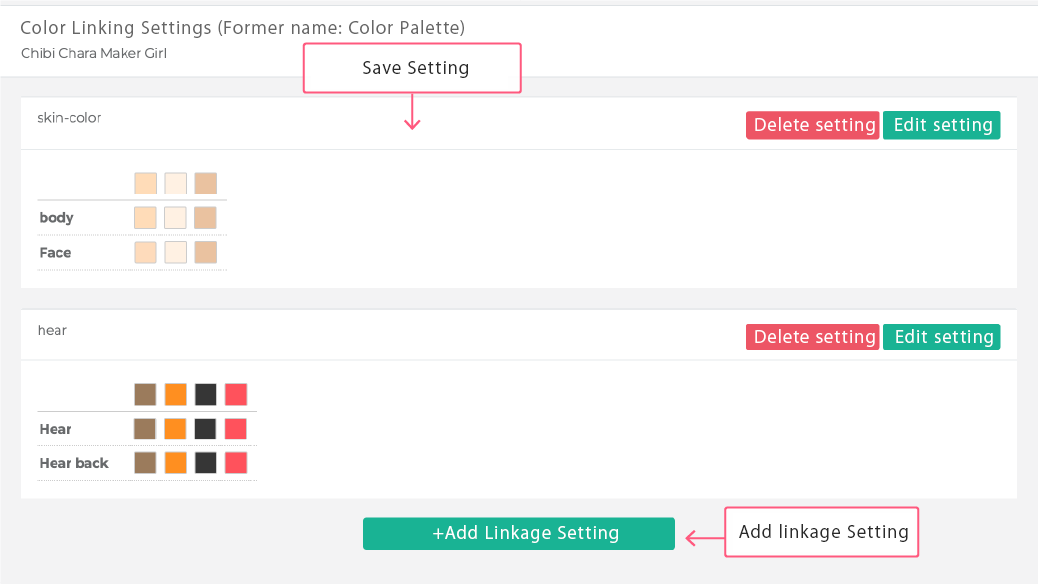
How to set up
Set it up on the settings screen.
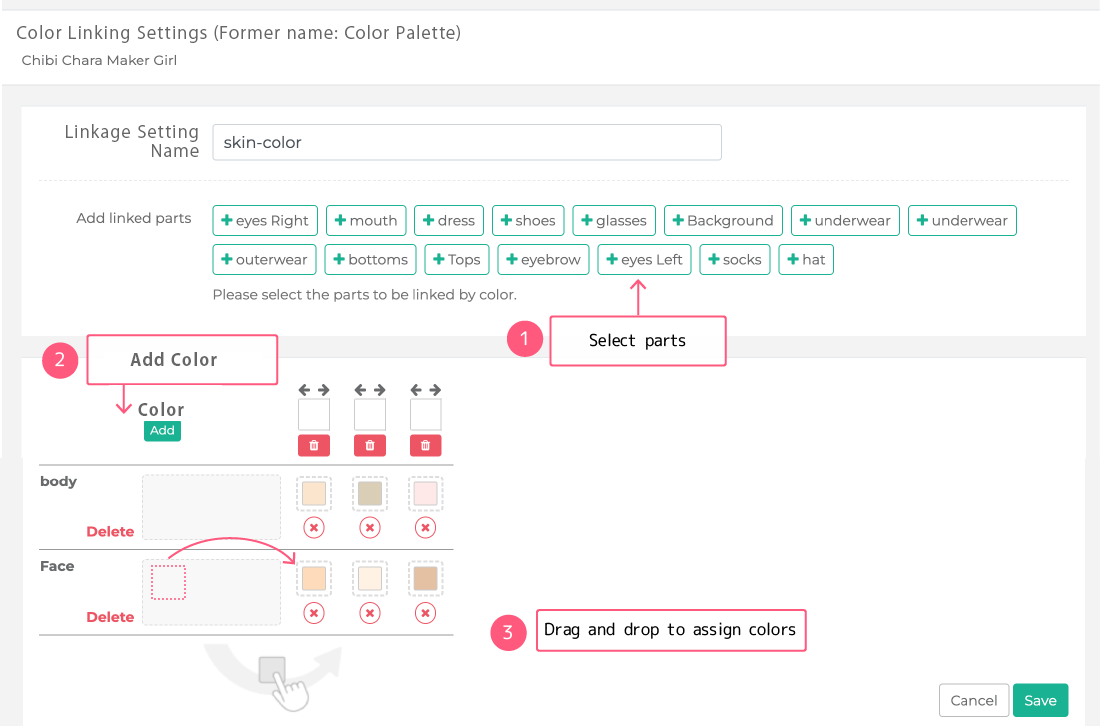
Linked Setting Name
Please enter a name for the setting. This name is only used in the admin panel, so choose something that is easy for you to understand.
Add parts
Select the parts for changing color.
Add/Edit Settings
Assign part colors to each setting.
The colors registered for the selected part will be displayed,so drag and drop the desired color underneath the one you wish to assign.
Assign color to parts
Assign part colors for each palette color.
The colors will appear for the part you have selected, so drag and drop them to the palette color.
Using Linked Settings
Let’s say that you are making a Character Maker with a Front Hair Part and a Back Hair Part.
Without the Color Palette function, different colors could be applied to the Front Hair Part and the Back Hair Part (for example, black hair for the front, and blond hair for the back.)
If you want to keep the Front Hair Part and the Back Hair Part in the same color, the Color Palette function will be useful.
You can always match their color by changing from the Color Palette settings.