On this page, you can learn how to use left-right paired parts, which is the advanced step for Animal Icon Makers.
Please read Create your Animal Icon Maker Part 1 before you start reading this page.
【Intermediate】Create your Animal Icon Maker Part 1
目次 / Contents
What are left-right paired parts?
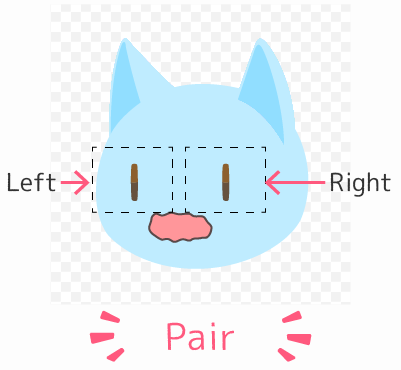
“Left- right paired parts” express a pair of right and left parts, such as the eyes and the eyebrows. We will use the Eye Part here as an example.
On the previous page, the eyes were made with “standard parts.”
This is how it would look like when they are made with “left-right paired parts.”
The difference between left-right paired parts and standard parts

If you are not using the rotation function, you can create it either way.
Please also note that layers can be added for standard parts but not for left-right paired parts.
Select either type according to the part’s feature.
Creating left-right paired parts
Go to the image maker’s top page and add parts.
When you add parts, select “left-right paired parts.”
Part types cannot be changed afterward. You will have to restart from the top page if you select the wrong type.
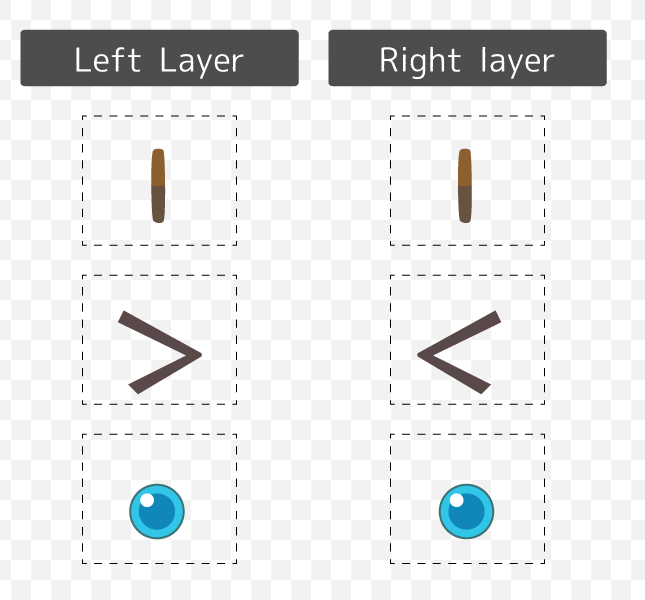
Left-right paired parts will automatically have two layers, the Left Layer and the Right Layer. Layers cannot be added or deleted.
Create and upload items
Prepare two Item Images for left-right paired parts, one for the Left Layer and the other for the Right layer.
If you want to use the zooming function, images must be exported at double the size, just like you do for the standard parts.
After you have exported the Item Images, upload them to the Left Layer and Right Layer folders, respectively.
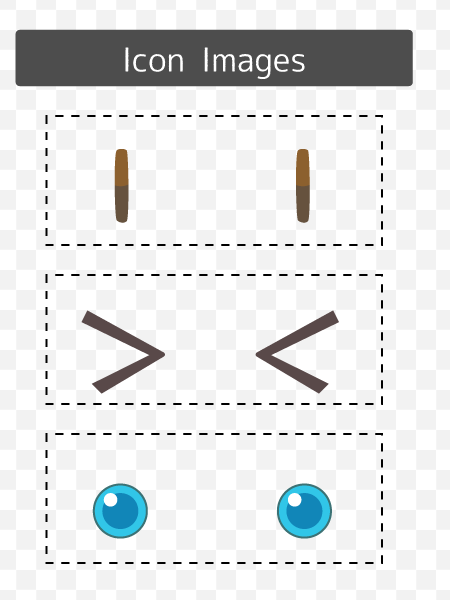
Icon Images
The Item Icon for the Eye Part might be easily understood if the left-right pair is displayed together. In such cases, create an Item Icon that is different from the Item Image.
Other left-right paired parts might be easily understood with either the left or right part. It’s up to you whether to use the Item Image as the Icon Image or create a new Icon Image.
Setup left-right paired parts
The following functions are only used for the left-right paired parts.
Other functions are the same as for standard parts.
Right layer position
Aside from the upper left position (A), you must also set up the Right Layer position (B).
The value of the Y-axis (vertical position) for point (B) is the same as point (A), and you only need to set up the value for X-axis (horizontal position).

Spacing adjustment
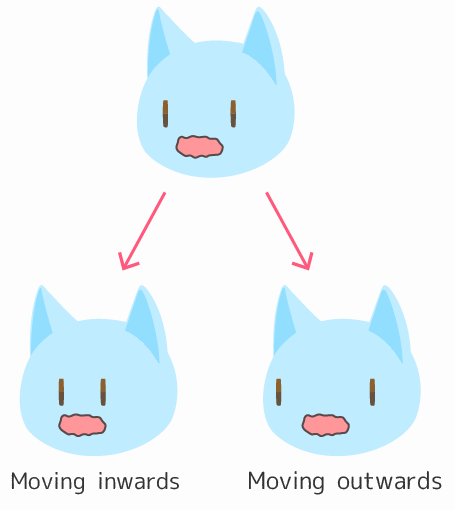
The spacing adjustment function allows you to adjust the space between the Left Layer and the Right Layer if you turn the function ON.
Please also set up the number of times the layers can be moved outwards and inwards.
Set up the other sections as necessary, and then you are ready!
Well done!